Implementing JWT Authentication in Spring Boot: A Comprehensive Guide
Written on
Chapter 1: Introduction to JWT Authentication
In this guide, we will delve into the implementation of JWT-based authentication in Spring Boot. This method is particularly beneficial when dealing with web and mobile clients alongside a backend server, serving as an efficient alternative to session-based authentication.
I couldn't find a suitable tutorial on this subject, which motivated me to create one.
Theory of Authentication Methods
Understanding the distinction between session-based and token-based authentication is crucial.
Why do we need either sessions or tokens for authentication?
Video Tutorial
I discovered an excellent tutorial aimed at beginners that walks through the implementation of basic JWT-based authentication.
This video titled "Complete Spring Security with JWT Authentication" provides a clear overview of the components involved.
In this tutorial, we will set up a basic JWT authentication system using a mock user without any database integration, allowing us to grasp the underlying concepts. Later, we will enhance this setup to incorporate database functionality, including full signup and login features.
If you’re looking for the code, you can find it on my GitHub branch.
Features to be Developed
- JWT utility file for creating and validating JWT tokens.
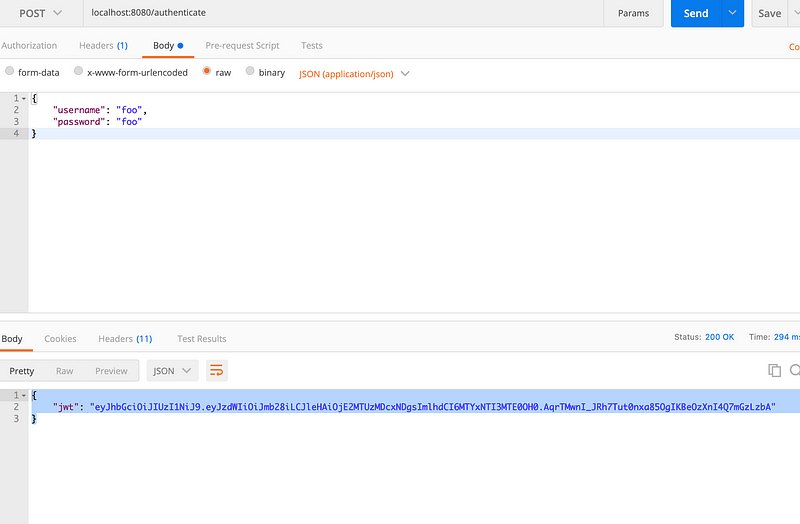
- A controller for generating the JWT token.
- Hardcoded user information.
- No password encoding for simplicity.
YouTube Demo
I created a concise 7-minute video that explains all components involved, ideal for those who may not have time to watch the full 40-minute tutorial.
This video titled "Spring Boot 3 + Spring Security 6 - JWT Authentication and Authorisation" is perfect for those already familiar with JWT authentication but needing guidance on implementation in Spring.
Step-by-Step Implementation
Step 1: Create a Spring Project
Start by setting up a Spring project with the necessary dependencies in the pom.xml file.
Step 2: Create a Custom MyUserDetailsService
Develop a custom MyUserDetailsService that extends the UserDetailsService from the security.core package. Override the loadUserByUsername method to hardcode a user for simplicity. We will integrate database storage and retrieval in a future tutorial.
Step 3: Configure Security
Create a SecurityConfigurer class and enable the @EnableWebSecurity annotation.
Key Points:
- No password encoder is used in this tutorial; we will incorporate BCrypt encoding later.
- The antMatcher specifies that all APIs, except for the /authenticate endpoint, will require authentication.
- A stateless session creation policy is employed, meaning every API call will necessitate authentication.
- We provide our implementation of UserDetailService to the Spring AuthenticationManagerBuilder.
Step 4: JWT Utility File
Develop the JWT utility file to create and validate tokens. Refer to the video (starting at 10:00) for detailed explanations of each function.
Step 5: Create a Filter Chain
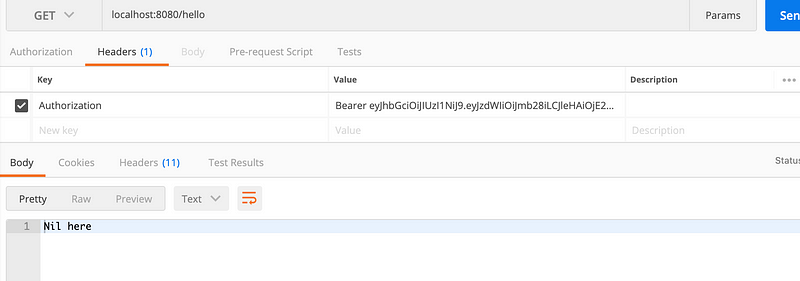
Set up a filter chain to extract the JWT token from the Authorization header, validate it, and establish the authentication in the security context.
Step 6: Create a Controller for Testing
Finally, develop a controller to test the authentication process.


In the next tutorial, we will connect this setup to actual users stored in a MySQL database and implement comprehensive signup and login functionalities.
For simpler authentication alternatives, check out these resources:
Thank you for reading! 😊