Unlocking the Potential of VARA Staking: Your Essential Guide
Written on
Introduction to VARA Staking
Staking your VARA Network tokens is a crucial step for active participants in the VARA ecosystem. This guide aims to provide a straightforward introduction to the staking process.
Step 1: Set Up Your VARA Wallet
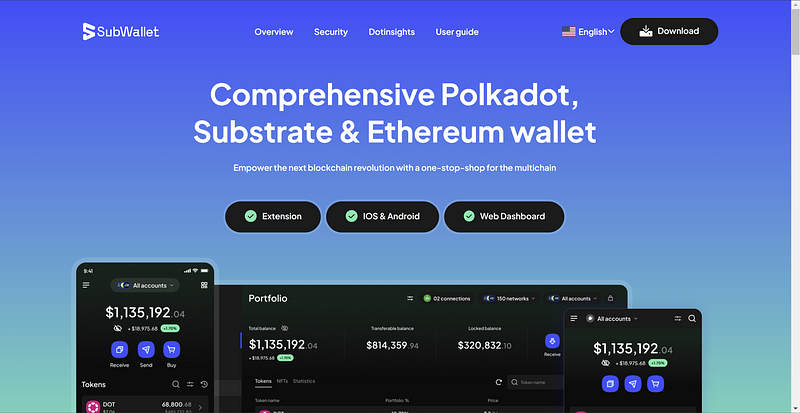
To begin, download the SubWallet App for iOS or Android, or utilize the Web dashboard. Connecting through the browser extension simplifies the process significantly. I recommend using SubWallet since it allows you to maintain control over your keys, and it offers a user-friendly interface.

It's critical to adhere to the setup instructions meticulously. Store your seed phrases securely; losing them means you won't be able to access your wallet, and no one can assist you in regaining access.
Step 2: Acquire VARA Tokens
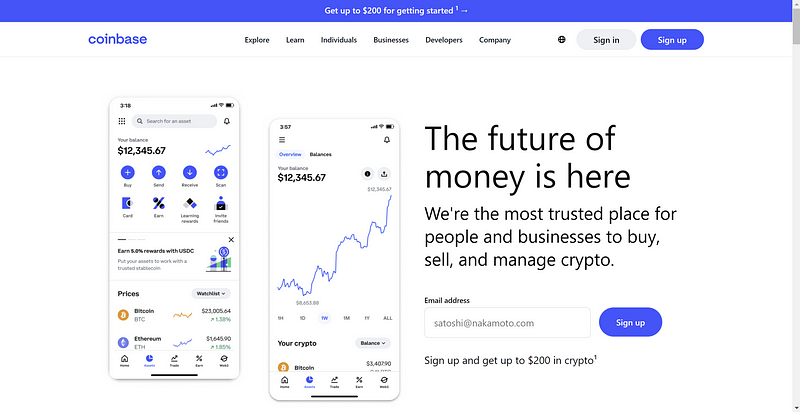
Next, you'll need to purchase VARA from an exchange. As of December 30, 2023, Coinbase is the sole exchange where you can buy VARA tokens. Keep an eye on platforms like CoinMarketCap for updates on additional exchanges in the future.
Step 3: Transfer VARA to Your SubWallet
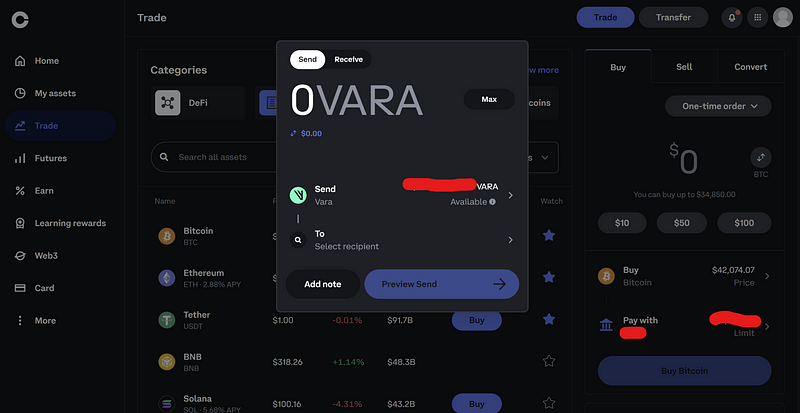
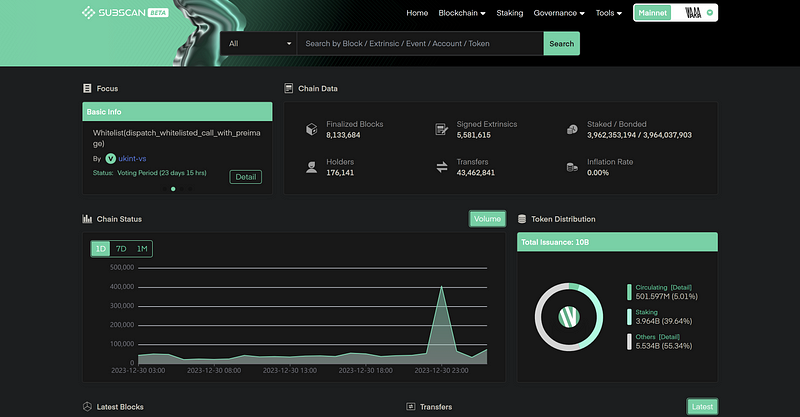
Click the “Send” button on your Coinbase dashboard, enter the amount you wish to transfer, input your SubWallet VARA Network address, and confirm the transaction. Within moments, your VARA tokens will appear in your SubWallet dashboard or on a block explorer.
Step 4: (Optional) Verify Transfer on Block Explorer
Step 5: Access the Staking Dashboard
Step 6: Choose Between Pool or Direct Nomination
For those staking smaller amounts of VARA, joining a pool may be the best option. While staking in a pool does not guarantee rewards, it increases the likelihood of returns for smaller investors. However, direct nominations to Validators are also available.
To join a staking pool, navigate to the “Pools” section on the left side of the screen and click “Join.” I suggest reviewing the list of pools and selecting one with a minimal fee. If you're inclined to support this guide, consider joining my low-fee pool, “Doc’s Vara Consortium — Join the Revolution,” which has a Pool ID# of 34.
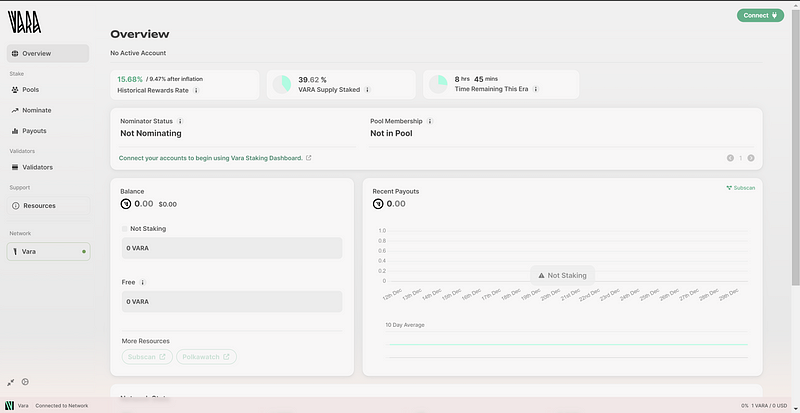
Now, let's explore how to nominate directly to Validators. When selecting a Validator, consider factors like self-stake, total stake, historical performance, reward points, and their identity. You can support my Validator Node, which is queued to become active, by choosing the “LOW Fee — VARA Consortium.”
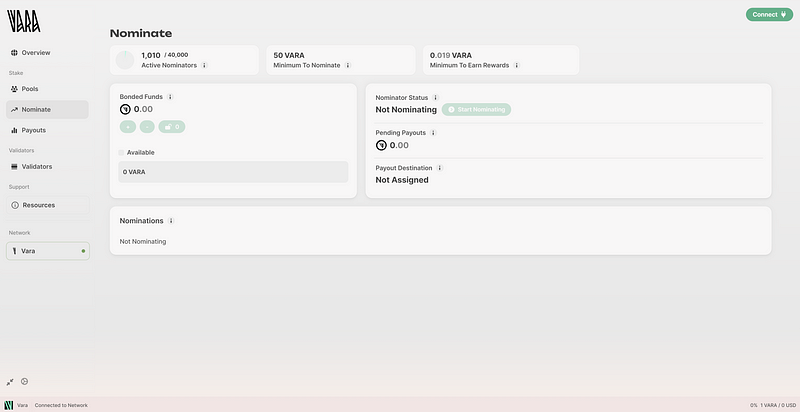
You can select up to 16 Validators in total. It's advisable to choose Validators based not only on their fees but also on the criteria mentioned above. To start the nomination process, click on the “Start Nominating” option on the left side of the dashboard and select Validators based on various parameters.
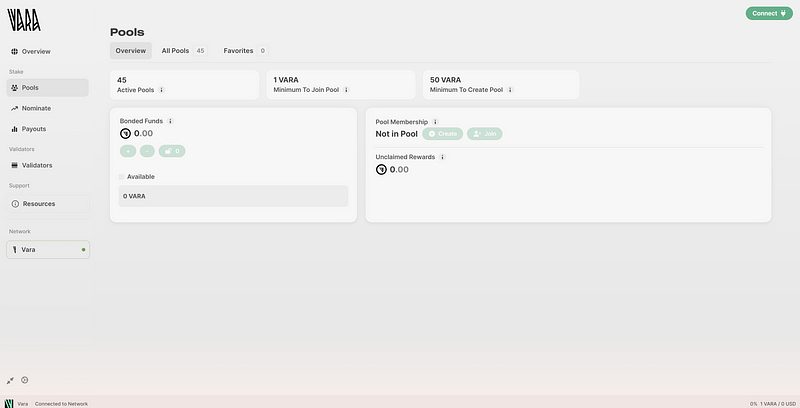
If you prefer to have more control over your Validator choices, use the “Validators” menu on the left side of the screen. From there, you can mark your favorite Validators. This makes it easy to add them to your Nominations list in the previous step.
Final Thoughts
Although the VARA Network blockchain and community are still in their early stages, they are rapidly evolving for a worthwhile purpose. Numerous wallet providers and staking methods are currently available for VARA holders, and more exchanges are expected to emerge in the future. Below are official VARA Network resources for further exploration. I highly encourage you to delve deeper!
Official VARA Network Links
Enjoyed the Content?
Stay connected by following on Publish0x, Medium, and Twitter.
Chapter 2: Video Tutorials on VARA Staking
In this tutorial titled "How to start Nominating with your VARA Tokens," you'll learn the fundamental steps involved in the nomination process using your VARA tokens.
This video, "Tutorial On How To Get Free VARA Coins!" provides insights on acquiring VARA coins at no cost, making it a valuable resource for new users.